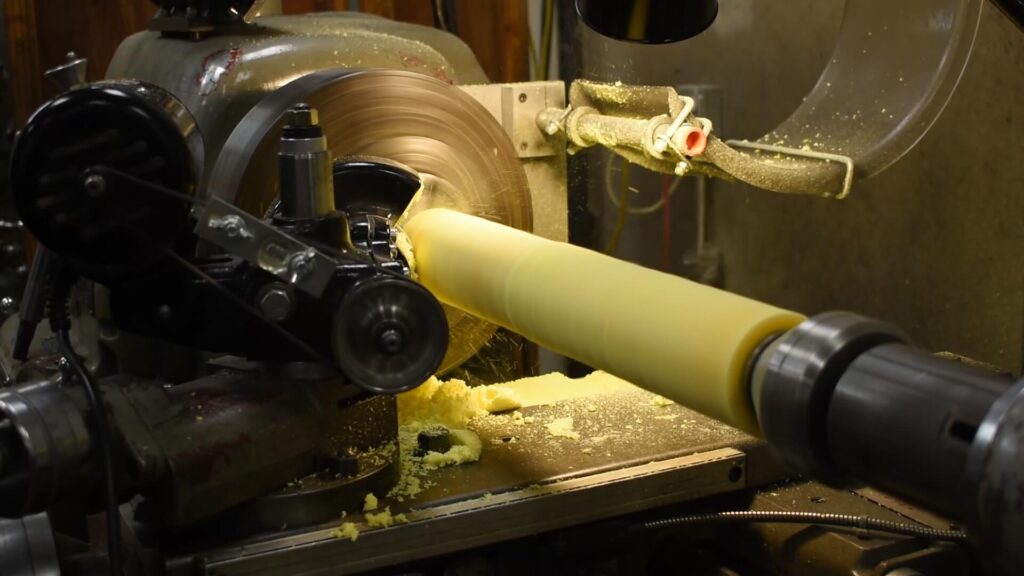
Whether you are in the early stages of prototyping or want to save on tooling costs, machining parts out of urethane may be your cost-effective solution. Below are some tips to assist you with the process.
Many machining operations such as turning, facing, milling, fly-cutting, and grinding can be performed as secondary operations. However, machining an elastomer like urethane is quite different from machining metal.
What should you consider before machining urethane material?
The durometer (hardness) of the urethane has a large effect on its machinability. The harder the material, the easier it is to cut and the closer in similarity it is to machining metal. However, all elastomers bend and therefore move away from the cutting tool, and the softer the material the more it bends. This usually results in less material being removed than expected. However, this is not always the case as sometimes the urethane is pulled into the cutting tool and more material is removed than expected. This phenomenon happens when the cutting tool has a large amount of rake and clearance, or the grinding wheel is extremely porous (both are recommended for cutting softer urethane).
The formulation also has a large effect on the machinability of urethane. The physical properties of cast urethane can vary widely, even at the same hardness. Properties such as tensile strength, tear strength and rebound, greatly affect the ability to machine urethane. PSI offers special machining formulations for many hardness. Be sure to let your sales representative know that you will be machining the urethane you would like to purchase.
Urethane is a good thermal insulator and therefore retains heat as it is machined. This can create a problem of melting the material if the machining is too aggressive. Coolant generally solves this problem, however freezing the part before machining can help as well. A word of caution about freezing urethane – freezing causes the material to shrink and as it heats up while being machined, it expands. Freezing is useful for preliminary cuts but should be avoided for final dimension cutting if close tolerances are to be held.
Grinding is best if a smooth finish or close tolerance is needed. Grinding creates heat on the surface of the urethane, so if extremely close tolerances are to be held, the operator should allow the part to cool before taking measurements. Melting can be a problem when grinding urethane, so it is recommended to take a couple of test passes.
Whenever possible, have holes and countersinks molded into the part rather than try to machine them in. Holes drilled or milled in urethane are seldom round, as the material is compressed by the vice or other holding apparatus. Melting is a major problem as chip removal creates more heat than other machining operations. Drilling or boring holes and countersinks may leave small cuts and tears in the urethane, which will weaken its tear strength. For these reasons, drilling and boring are not recommended.
SOME BASIC GUIDELINES
Turning – When turning urethane, use cutting speeds between 500 and 1700 ft/minute. Use the faster speeds for softer materials. Feed rates can be between .004 and .010 inch/revolution. Turning tools need an excessive amount of rake and clearance so as to avoid rubbing against the urethane and creating more heat.
Facing – When facing, use a cutting tool with a cutting angle of approximately 15 degrees. Feed rates and speeds are similar to those used for turning.
Milling & Fly Cutting – When milling, use a two-fluted end mill or a single point fly cutter with speeds from 800 to 1300 and feed rates around 15 to 20 inches/minute.
Sawing – Although urethane can be cut with many different saws, a bandsaw is best as longer blades run cooler and avoid melting. A blade with 4 to 10 teeth per inch and a speed around 200 feet/minute should give you a good cut.


